The Poultry Chicks Hatching Process: From Egg to Chick
1. Selection and Collection of Eggs
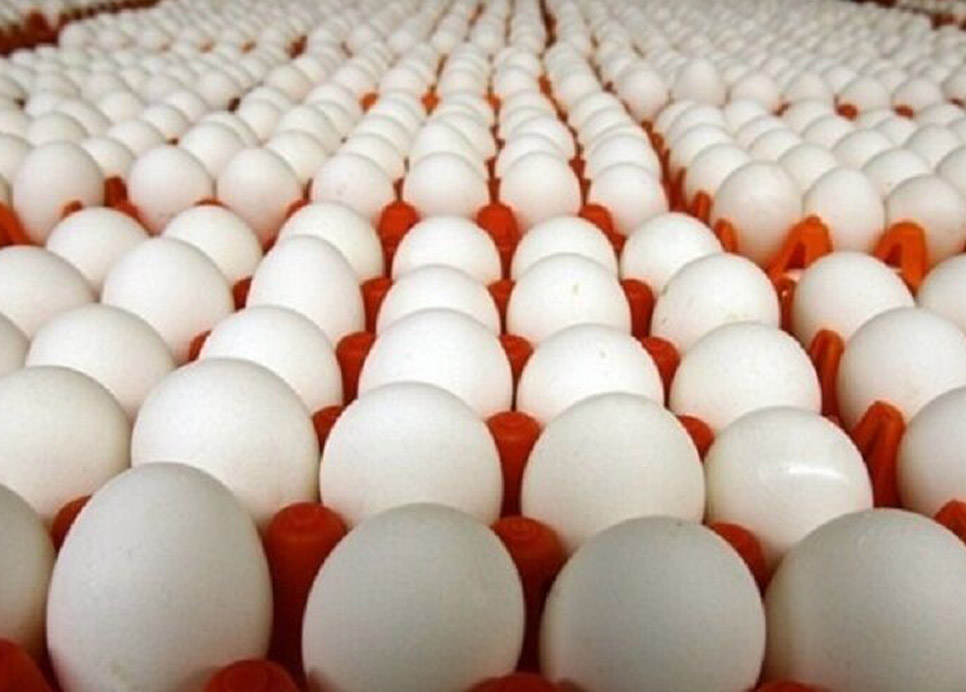
The journey begins with the selection of high-quality, fertilized eggs. These eggs should come from healthy, well-nourished hens and roosters to ensure strong and viable embryos. It’s crucial to collect eggs frequently, ideally multiple times a day, to prevent contamination and ensure they remain at an optimal temperature.
2. Storing the Eggs
Before incubation, eggs can be stored for up to a week, but the fresher they are, the better the hatch rate. During storage, eggs should be kept at a temperature between 50-60°F (10-15°C) with a relative humidity of about 75%. Proper storage helps maintain the viability of the embryos until they are ready to be incubated.
3. Setting Up the Incubator
An incubator mimics the conditions provided by a broody hen. The key factors to control are temperature, humidity, and ventilation. The incubator should be pre-warmed to a stable temperature of 99.5°F (37.5°C). Humidity levels should be maintained at around 50-55% for the first 18 days, increasing to 65-70% in the final days before hatching. Adequate ventilation is crucial to provide fresh air and remove excess carbon dioxide.
4. Incubation Period
The incubation period for chicken eggs is 21 days. During this time, eggs need to be turned at least three times a day to prevent the embryo from sticking to the shell. Many modern incubators come with automatic turners, but manual turning is also effective. It’s important to handle the eggs gently and maintain a consistent environment within the incubator.
5. Monitoring Development
Throughout the incubation period, it’s beneficial to monitor the development of the embryos. Candling, a technique where a bright light is shone through the egg, can be used to observe the growth and position of the embryo. Candling should be done carefully to avoid excessive handling and potential damage to the eggs.
6. Lockdown Period
The final three days before hatching, known as the lockdown period, are critical. During this time, turning should be stopped, and humidity should be increased to prevent the chicks from sticking to the shell during hatching. The incubator should remain closed to maintain a stable environment.
7. Hatching
Around day 21, the chicks will begin to pip, which is the initial crack in the eggshell made by the chick’s beak. This is followed by zipping, where the chick rotates within the shell, creating a circular break. Finally, the chick will push out of the shell completely. It’s important to let this process occur naturally without intervening, as hatching can take several hours.
8. Post-Hatch Care
Once hatched, chicks should be left in the incubator until they are fully dry and fluffed up. This can take several hours. Afterward, they can be transferred to a brooder, which provides a warm, safe environment for the chicks to thrive. The brooder should have a heat source, such as a heat lamp, maintaining a temperature of around 95°F (35°C) for the first week, gradually decreasing by 5°F each week.
9. Feeding and Hydration
Newly hatched chicks should have access to fresh water and a starter feed formulated for their nutritional needs. It’s important to monitor their eating and drinking to ensure they are healthy and growing properly.
Conclusion
The process of hatching poultry chicks is both rewarding and challenging, requiring attention to detail and careful management. By understanding and following each step, from selecting eggs to caring for newly hatched chicks, you can successfully raise healthy and robust poultry.
Admin-JG


